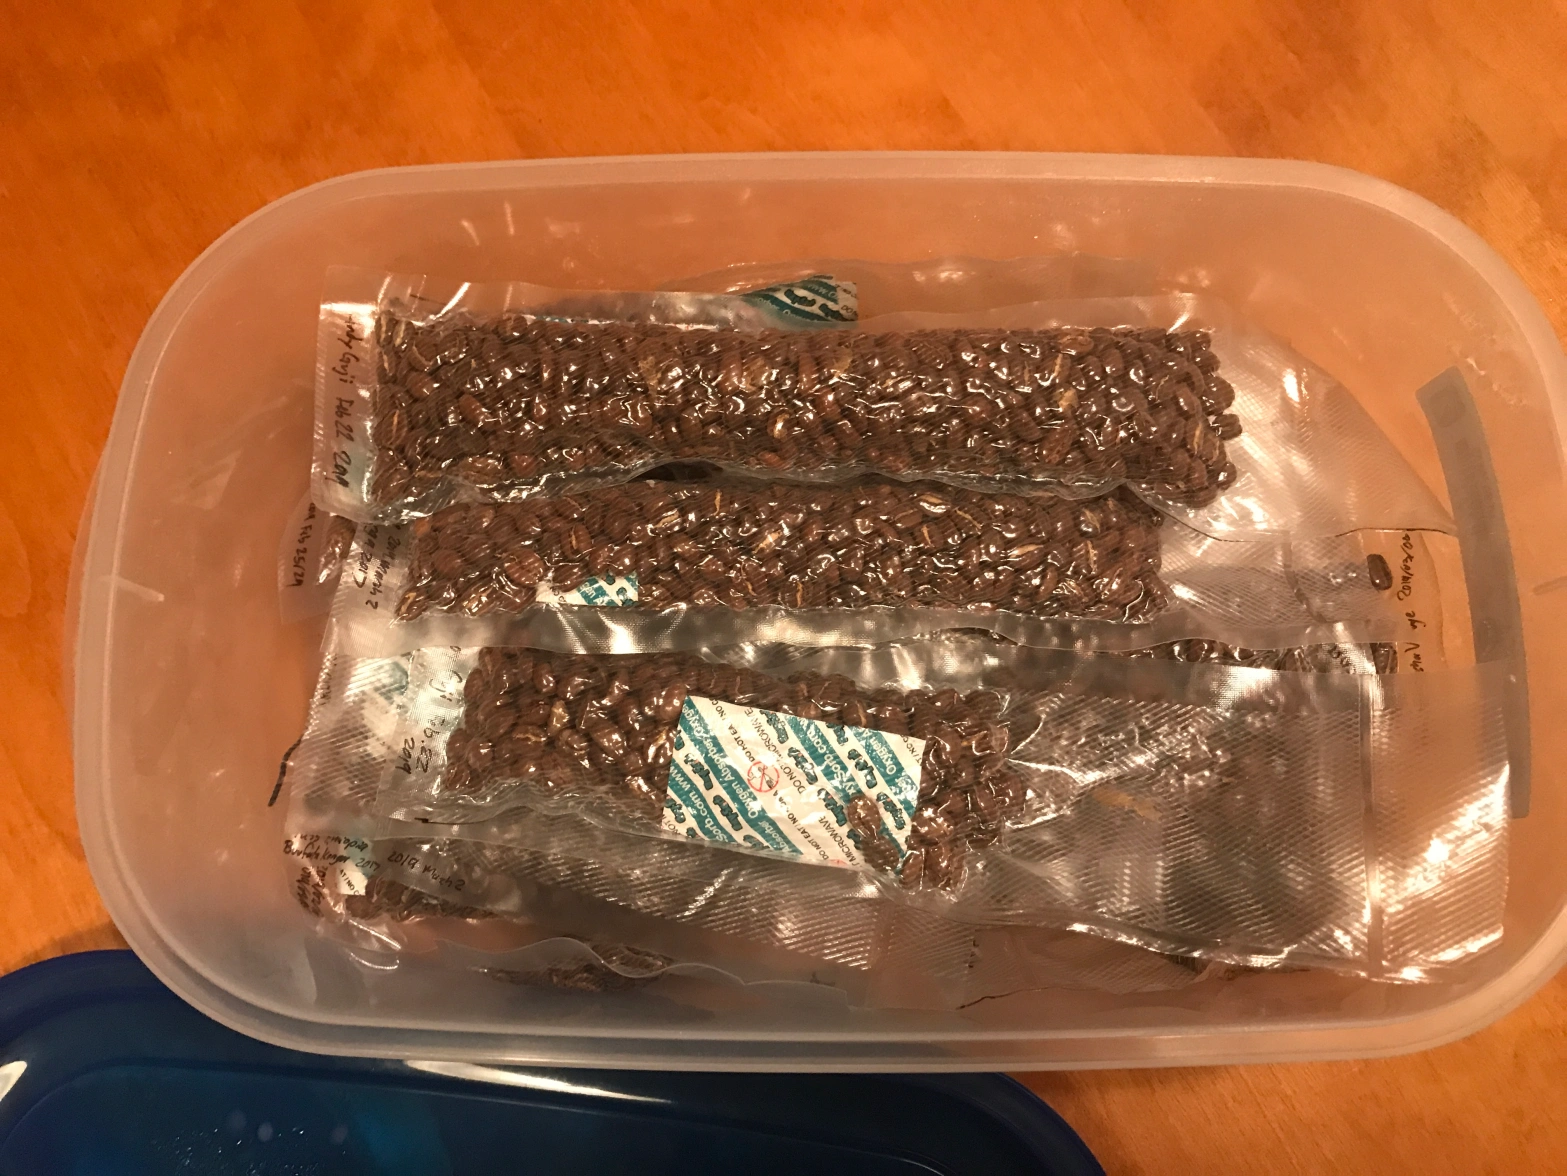
[Edit October 28 2019: I now strongly recommend against using oxy-sorbs or any oxygen scavenger bags with coffee. I will eventually write a detailed post about this, but it can impart a really bad taste to coffee; for now you can find more information here.] There are few things more annoying than discovering some ofContinue reading "Some Strategies to Keep your Coffee Fresh"
A Recipe to Brew High Extraction Coffee with the Siphon
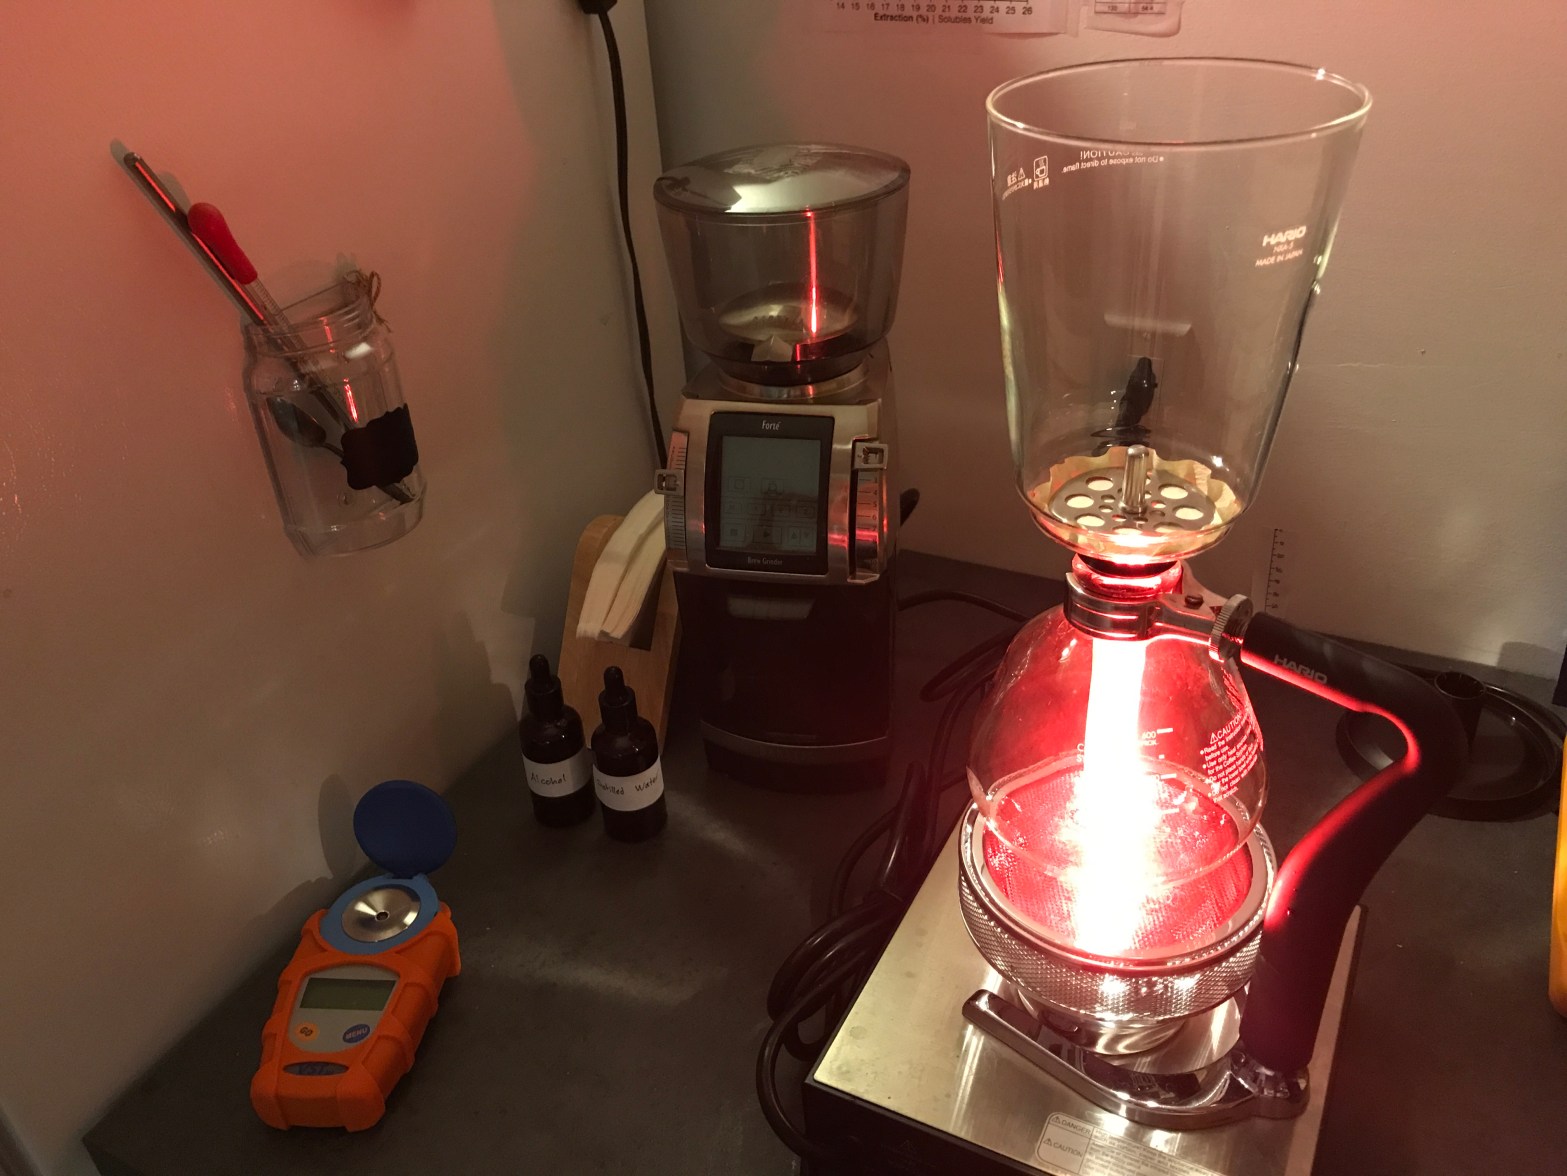
Today I am finally sharing a recipe for the siphon brewer. I will use a bit of technical jargon at times in this blog post. If you encounter a word you're not familiar with, I recommend you consult Mitch Hale's glossary. The siphon method is far from being appropriate for most people's daily routines, asContinue reading "A Recipe to Brew High Extraction Coffee with the Siphon"
Testing a Model of Extraction Dynamics
In a recent post, I presented a mathematical model for the dynamics of coffee extraction that is based on a few simple hypotheses. One of these is that the rate of extraction decreases exponentially. The rate at which it decreases can depend on many things: the type of coffee, the roast, the amount of agitationContinue reading "Testing a Model of Extraction Dynamics"
A More Accurate Way to Calculate Average Extraction Yield

I recently wrote about the detailed explanations and calculations behind the equations we use to estimate average extraction yield from coffee concentration (often called TDS) measured with refractometers. If you have not seen this discussion, I highly recommend reading it before you start reading this blog post, as it introduces a lot of the conceptsContinue reading "A More Accurate Way to Calculate Average Extraction Yield"
Measuring and Reporting Extraction Yield

Since I received the VST Coffee Lab III refractometer thanks to Vince Fedele's generosity, I started logging the concentration (in % TDS) of every coffee I brew. This allows you to calculate the average extraction yield of your brew, which represents the fraction of your coffee beans by mass that was dissolved in your brewContinue reading "Measuring and Reporting Extraction Yield"
Measuring the Concentration of Espresso Shots
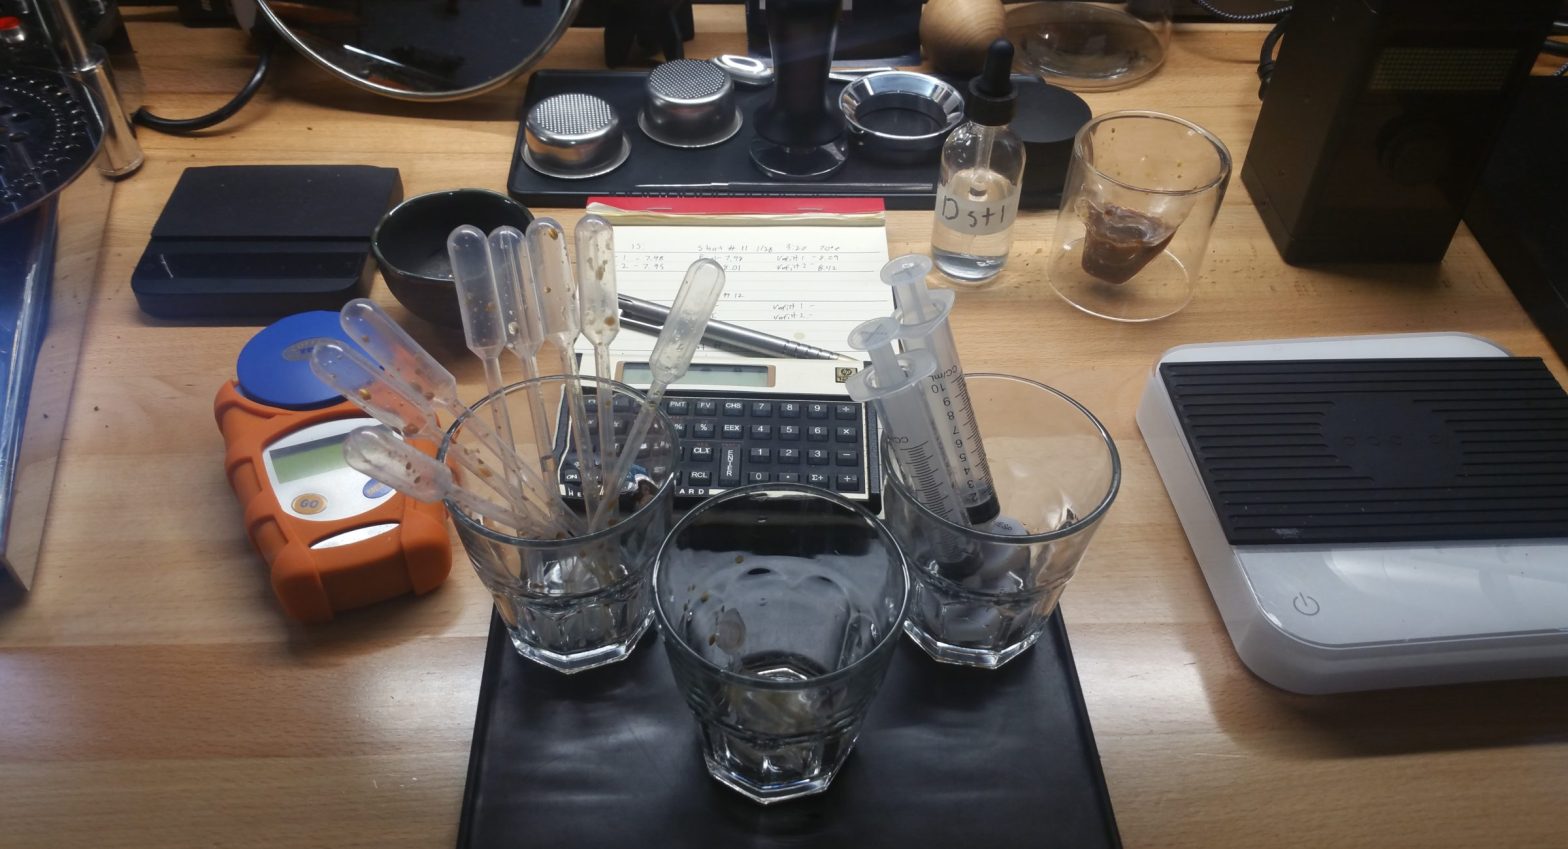
If you are wondering why it is widely recommended to use syringe filters when you measure the concentration of espresso shots with a refractometer, or how bad exactly a measurement would be if you don't use such a filter, I highly recommend this recent blog post by my friend Mitch Hale. And while you're there,Continue reading "Measuring the Concentration of Espresso Shots"
The Dynamics of Coffee Extraction

[Edit January 30, 2019: After receiving some feedback about this post, I would like to address a few things that I think were not clear enough. I’d like to thank Scott Rao for his comments. First, when I use language such as “over-extraction”, and “under-extraction”, I don’t mean that the associated extraction numbers are necessarilyContinue reading "The Dynamics of Coffee Extraction"
Statistics and Blind Tasting

A friend recently asked me a really interesting question about the statistical significance of blind tasting. He asked: "How many times should I successfully identify an intruder coffee by blind tasting among a set of three cups, in order for my experiment to be statistically significant ?" As you might imagine, I really like thisContinue reading "Statistics and Blind Tasting"
Extracting Shells of Coffee

Recently, Barista Hustle posted a very interesting video on YouTube. I am embedding it to this blog post to make sure that you view it before reading more. https://www.youtube.com/watch?v=kI3zOwFG9mg I found this video rather illuminating, but at first the last minute or so was a bit confusing to me, so I decided it may beContinue reading "Extracting Shells of Coffee"
Why Spin the Slurry ?

Today I'm excited to release a joint blog post with Scott Rao, the one who helped me so much understand the basics of brewing, and also helped me to improve my cups of coffee significantly. I was never really proud to serve my friends a cup of V60 coffee that I made, and this isContinue reading "Why Spin the Slurry ?"
