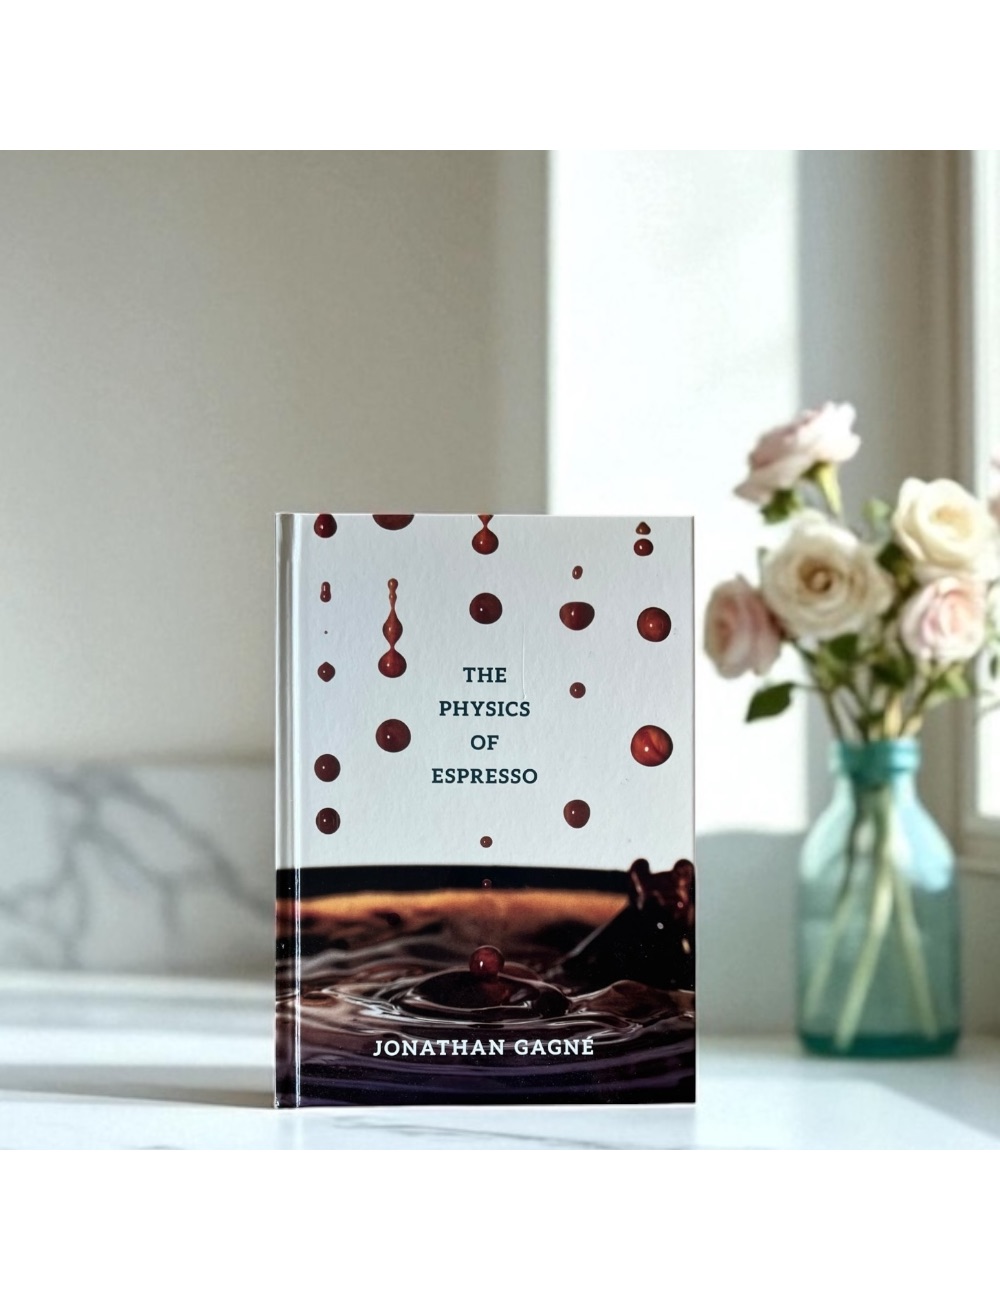
Hello all ! I am so thrilled to announce that my second book The Physics of Espresso is finally out ! This one took a while longer than I expected, and you'll understand why when you get your hands on it. It contains hundreds of graphs and drawings, more professional photos and both my editorContinue reading "The Physics of Espresso is out !!"
The Importance of Bed Depth
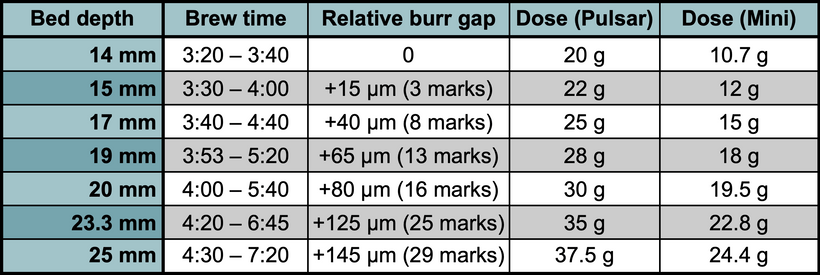
In this post, I discuss the impact of bed depths on brewing filter coffee, and how this impacts my favorite brew parameters with the Pulsar and the Pulsar mini, and I offer some reasons why I think bed depths affects flavor in the way it does.
Recent Insights into Espresso Dynamics April 14 Chicago Conference

I will be presenting a conference on the topic of espresso dynamics during SCA 2024 in Chicago !
What I learned from analyzing 300 particle size distributions for 24 espresso grinders

This post presents a deep analysis of 300 particle size distributions for various espresso grinders
The Pulsar Dripper
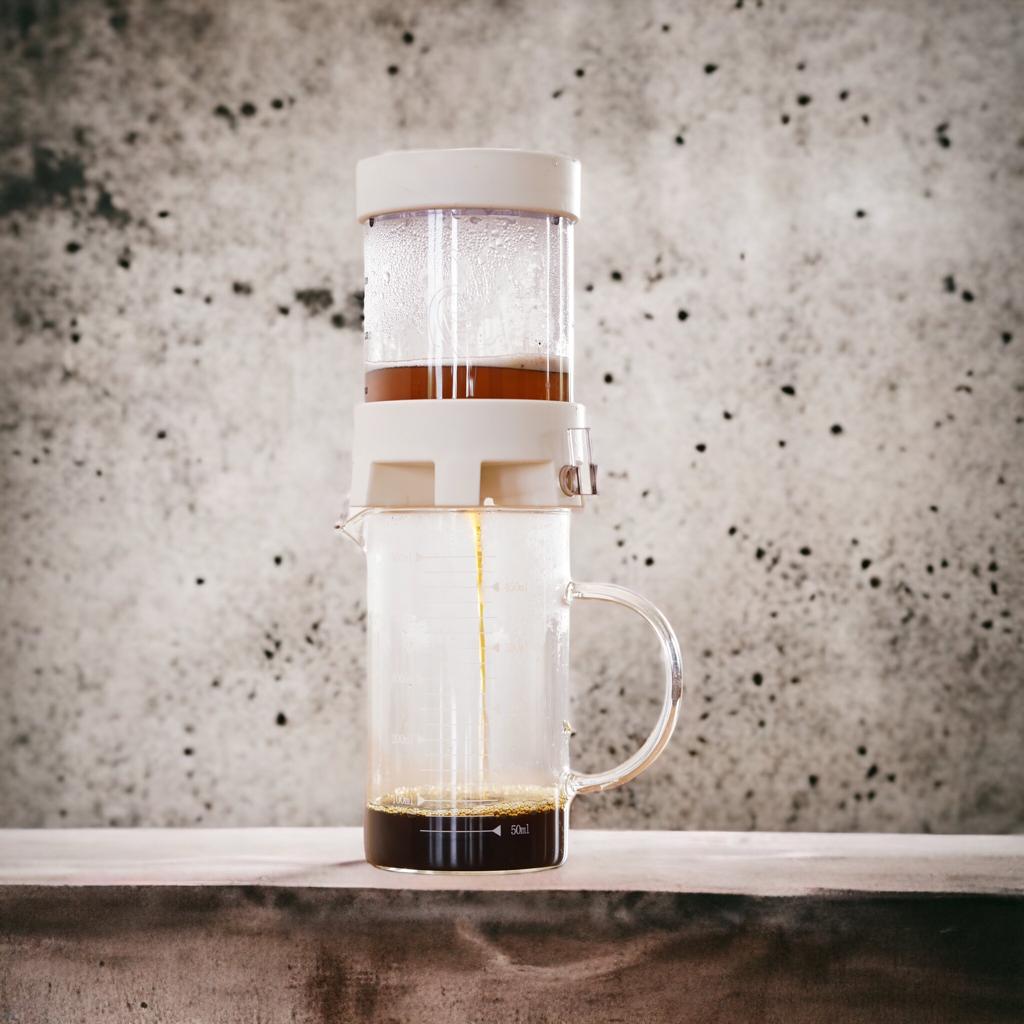
This post presents the Pulsar dripper with my current favorite brewing recipe.
The Mechanism Behind Astringency in Coffee

In this post, I discuss my updated understanding of the mechanism by which astringent compounds can be extracted from coffee.
More Even Espresso Extractions
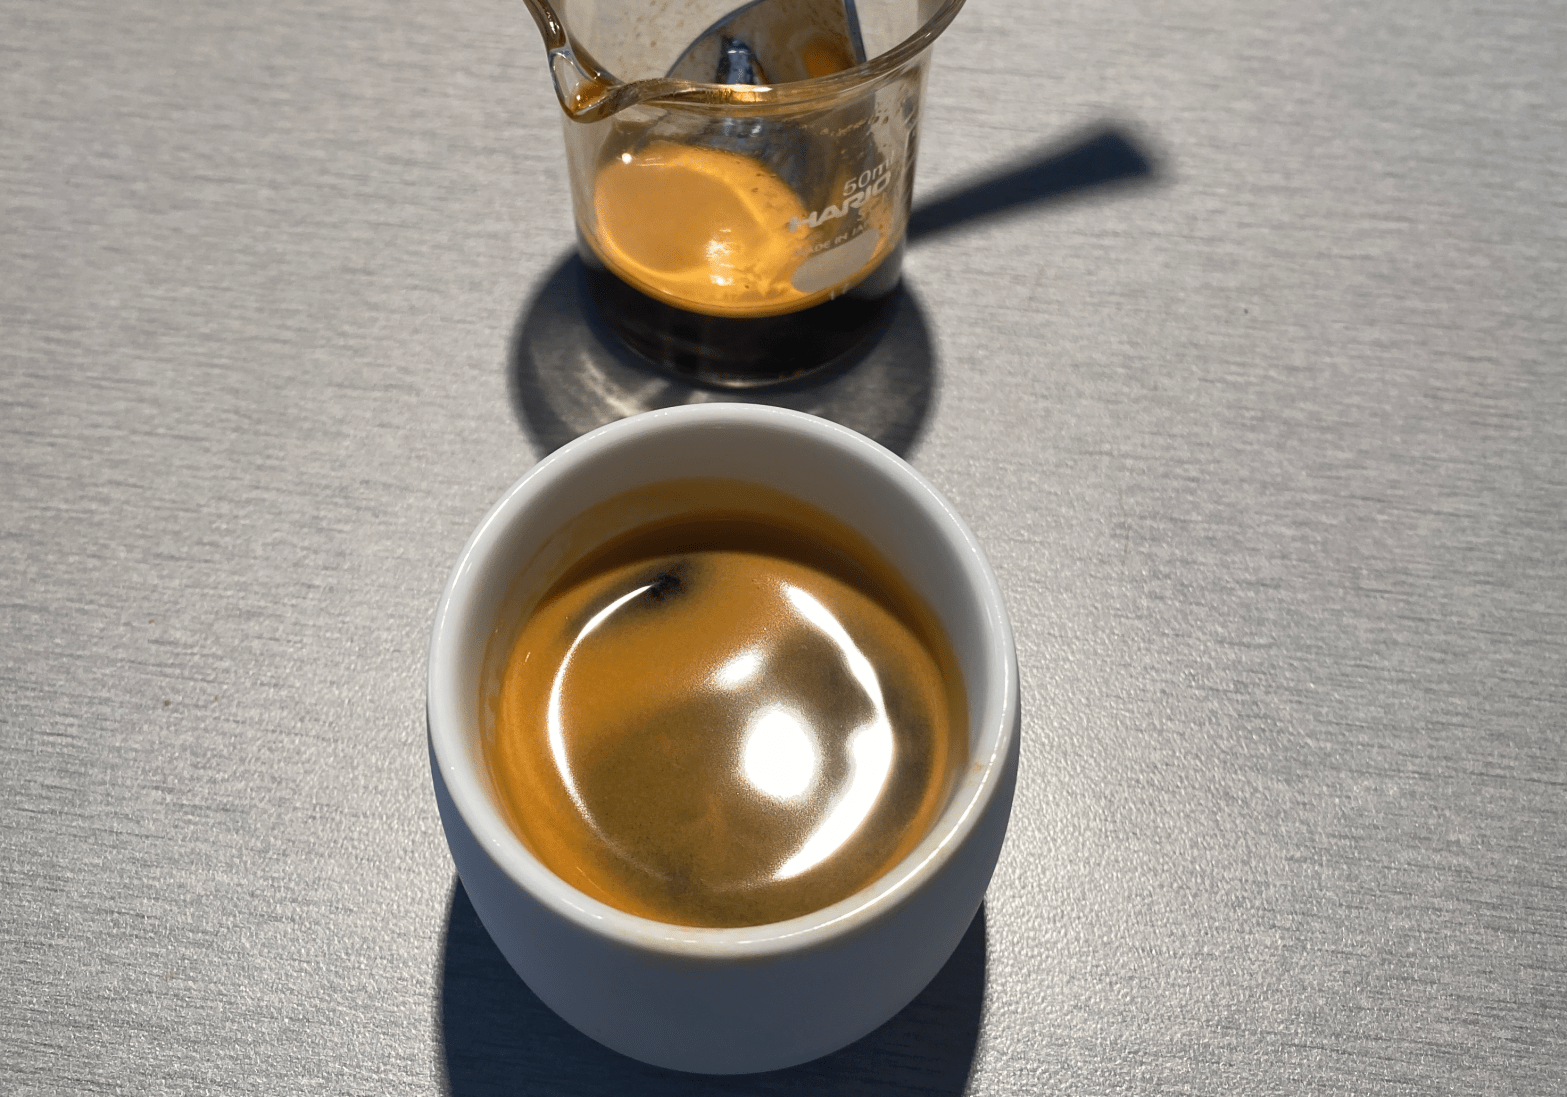
In this post, I talk about ways in which I have recently improved my puck preparation for espresso.
The Physics of Coffee Class

Announcing a coffee class during the Boston SCA expo
Restraining Flow to Mitigate Channels

In the past weeks, I have been experimenting with the AeroPress combined with the Prismo attachment, and I tried one small hack that produced a surprising result. I inserted a pasta strainer mesh like the one I described in my Stagg [X] recipe to increase the total open surface area under the AeroPress filter. AsContinue reading "Restraining Flow to Mitigate Channels"
Reaching Fuller Flavor Profiles with the AeroPress

In this post, I discuss the AeroPress and how it can be used to reach flavor profiles similar to cuppings and high-EY pour overs.
