Originally posted on Patreon on Oct 17, 2021
I’m excited to share that I have just figured out a detail about my puck preparation that seems to completely eliminate a problem I had with almost every single shot of espresso I had ever pulled so far. After you pull an espresso shot, you can knock out your puck in a plate and wait for a minute or two to see if the color of the puck is relatively even across its bottom surface. In my experience, decaf and medium to dark roasts do not show much of anything useful when doing this, perhaps because of the darker color, or because they tend to channel less with their more porous coffee particles (I don’t knows for sure that more porous particles reduce channeling, but it seems plausible). Inspecting the bottom of a spent puck is more easily done if you use a paper filter below your puck and if your grinder allows you to grind with a finer average particle size, because both of these aspects will help the spent puck to hold together instead of falling apart when you knock it out.


Until recently, most of my spent espresso pucks looked like the least bad case in the first photo above, or as bad as the second photo if my grind size was way too fine. The dark spots in these photos likely correspond to regions where there are still more coffee solubles that did not make their way into the cup, probably because of uneven flow that caused a “dead zones” around which water tended to flow. If you place such a spent puck in clean water and manage to not destroy it in the process, you will see how the darker spots disappear within a minute or two. If you cut across the depth of the puck, you will also notice how the dark spots tend to be located within a shallow region at the bottom of the puck, i.e. within a few millimeters if it’s not a bad case, or up to almost half of the puck in the very worst cases I have observed (like in the photo below).

This type of spent puck diagnostic has been used for quite a while on the Decent diaspora forum by some careful observers like Stéphane Ribes. The diaspora users are actually the ones who first interpreted the dark spots as under extracted regions, which I believe is correct. When I realized that inspecting the spent pucks in this way was actually useful, I started doing so after almost every shot I made, and I realized how pervasive this effect was across all of my shots, and how they were heavily affected by the use of a paper filter below or above the puck, the WDT Weiss Distribution Technique (see this other post for more details), or by placing a BPLUS or a Flair 58 puck screen above the puck.

I know I have not yet made a detailed post about the effects of puck screens, but it has already been widely adopted by users on the Decent diaspora forum. It is a pretty neat way to keep both your espresso machine’s shower screen and your tamper extremely clean, and to be honest, just these upsides are enough for me to want to use it, as long as it doesn’t negatively impact extraction. I do not yet have hard data to back this up, but I suspect that the puck screens are in fact usually good for extraction; I think they help to distribute the flow of water more evenly than most espresso machine shower screens, or at least compared with the stock one on the Decent DE1 machine as well as the IMS Cl 200 IM which I now use. I am a bit worried that it might encourage a bit more water to flow around the edges of the puck screen especially when it is still dry at the preinfusion stage of a shot, but I do not know for sure that this would even be a problem as long as it doesn’t last into the main part of the shot. The quality of my extractions seem to have improved after I started using it, but I plan to demonstrate this more quantitatively with a future experiment. Note that Stéphane Ribes has posted many experiments on the (private) Decent forums where he compared several different puck preparation tools including puck screens and came to similar conclusions.
Another improvement I have observed recently was the use of a more paper filter with more hydraulic resistance below the espresso puck (thicker, or with less, smaller pores). As you may recall from my last blog post, I now suspect that adding a source of hydraulic resistance under the puck that is non-negligible compared with the espresso puck itself is desirable to reduce the impact of channels because it slows down the flow of water where it would tend to become otherwise too fast and as a consequence less even across the surface of the coffee bed. Lately, I have been using 55 mm pre-cut Whatman 5 filters. Please note that Whatman 5 filters (and most high-resistance paper filters) have not been designed for food-grade use, so I would be really hesitant to recommend their use for coffee. You can find the list of trace heavy metals that they could contain here; to my knowledge, the most problematic ones would be Mercury, Arsenic, and Antinomy, but after comparing the upper limits of how much they can contain with local health regulations for tap water and tuna consumption (tuna has a lot of Mercury), I decided that I was comfortable with their use for me personally, but I do not take responsibility for any impact they could have on your health because my assessment of the risk that they pose could be wrong.
Note that stacking V60 filters or similarly low-resistance filters will not give you a high amount of resistance, because the column of filters will become too tall way before they build any significant amount of resistance and water will just flow around it. You might also notice that I have moved from using the 58mm Robot Cafelat filters to now using the smaller 55 mm Whatman 5 filters. I realized that it was much more important that the paper filter does not creep up against the wall of the portafilter basket, because this creates a path of least resistance for water. I do not consider this only a hypothesis; if you compare such larger filters with 55 mm ones, you will notice how it reduces the total hydraulic resistance of the system, makes the shot taste more astringent, and reduces the average extraction yield, all consistent with the idea that it creates a channel for water. What seems to matter most is for the paper filter to cover all the portafilter holes, and ideally that it extends almost up to the portafilter walls.
I know a lot of you might ask; if adding extra resistance below the coffee puck is good, have you tried a good old pressurized basket? And yes, I have indeed ordered one and tried it. The result was a very low average extraction yield shot with a really nasty taste. I am not sure why this is, honestly; I suspect it might be because it was a cheaply manufactured basket with uneven holes that leave way too much space without holes near the basket walls. If you know a high-end 58 mm pressurized basket manufacturer, please let me know and I will be happy to give it a try.
Even if the use of deep WDT, a paper filter below the espresso puck and a puck screen all seem to have helped reduce the number and the size of dark spots under my spent pucks (as well as increase my average extraction yields and improve the overall taste of my shots), I had never managed to completely eliminate them until now. It is common to hear that good ideas come to us while sleeping, well this one falls squarely in that category as I woke up excited to try something I had not even considered for a long time. I am not too surprised I dreamed about this (or at least some part of my brain was thinking about it), because this issue has been on my mind a lot lately. What I realized is that I seemed to always obtain more dark spots around the left half of my spent pucks (or the right half before you flip it over when knocking it).
If you recall the details of my puck preparation steps with the EG-1 grinder and SSP Ultra Low Fines burrs, you might remember that I had determined that grinding directly into the portafilter was desirable to minimize clumping and obtain higher-quality extractions. I had come to this conclusion by comparing the results I was obtaining with the Weber Workshops Blind Shaker, which caused a lot of clumping for me when I shook the grounds. Note that this clumping issue might only be a problem with the SSP burrs that force you to grind much finer than other burrs for espresso, most probably because they indeed produce less fines.

However, even back then, I was still annoyed by the fact that flat burrs tend to send the coffee preferentially on one side of the portafilter (to the right side with the design of EG-1), an effect probably worsened by the use of high rpm. This is what caused me to try using deep WDT in the first place, but I had never connected these two observations and realized that this might be one cause for the dark spots under my spent pucks. Back when I started making espresso, I did not know of a great way to fix this problem, but now thanks to another neatly designed grinder by Weber Workshops (the Key, which is not out yet), I realized that I could actually WDT directly into the Blind Shaker like the Key does with the Magic Tumbler, and just not shake it !
Hence, my puck preparation now consists of the following steps:
- Grinding in the Weber Shaker.
- Placing a paper filter at the bottom of my basket and pre-wetting it.
- Doing WDT in circles (at full depth) directly in the Weber Shaker for a few seconds, until the grounds are fluffy.
- Placing the Weber Shaker on top of my basket and funnel, then lifting the central part while gently spinning the central part: this drops the coffee grounds gently across the portafilter surface with a slight donut shape.
- Doing deep WDT in the portafilter (making sure I don’t displace the paper filter).
- Gently placing the Flair 58 puck screen on top.
- Tamping.
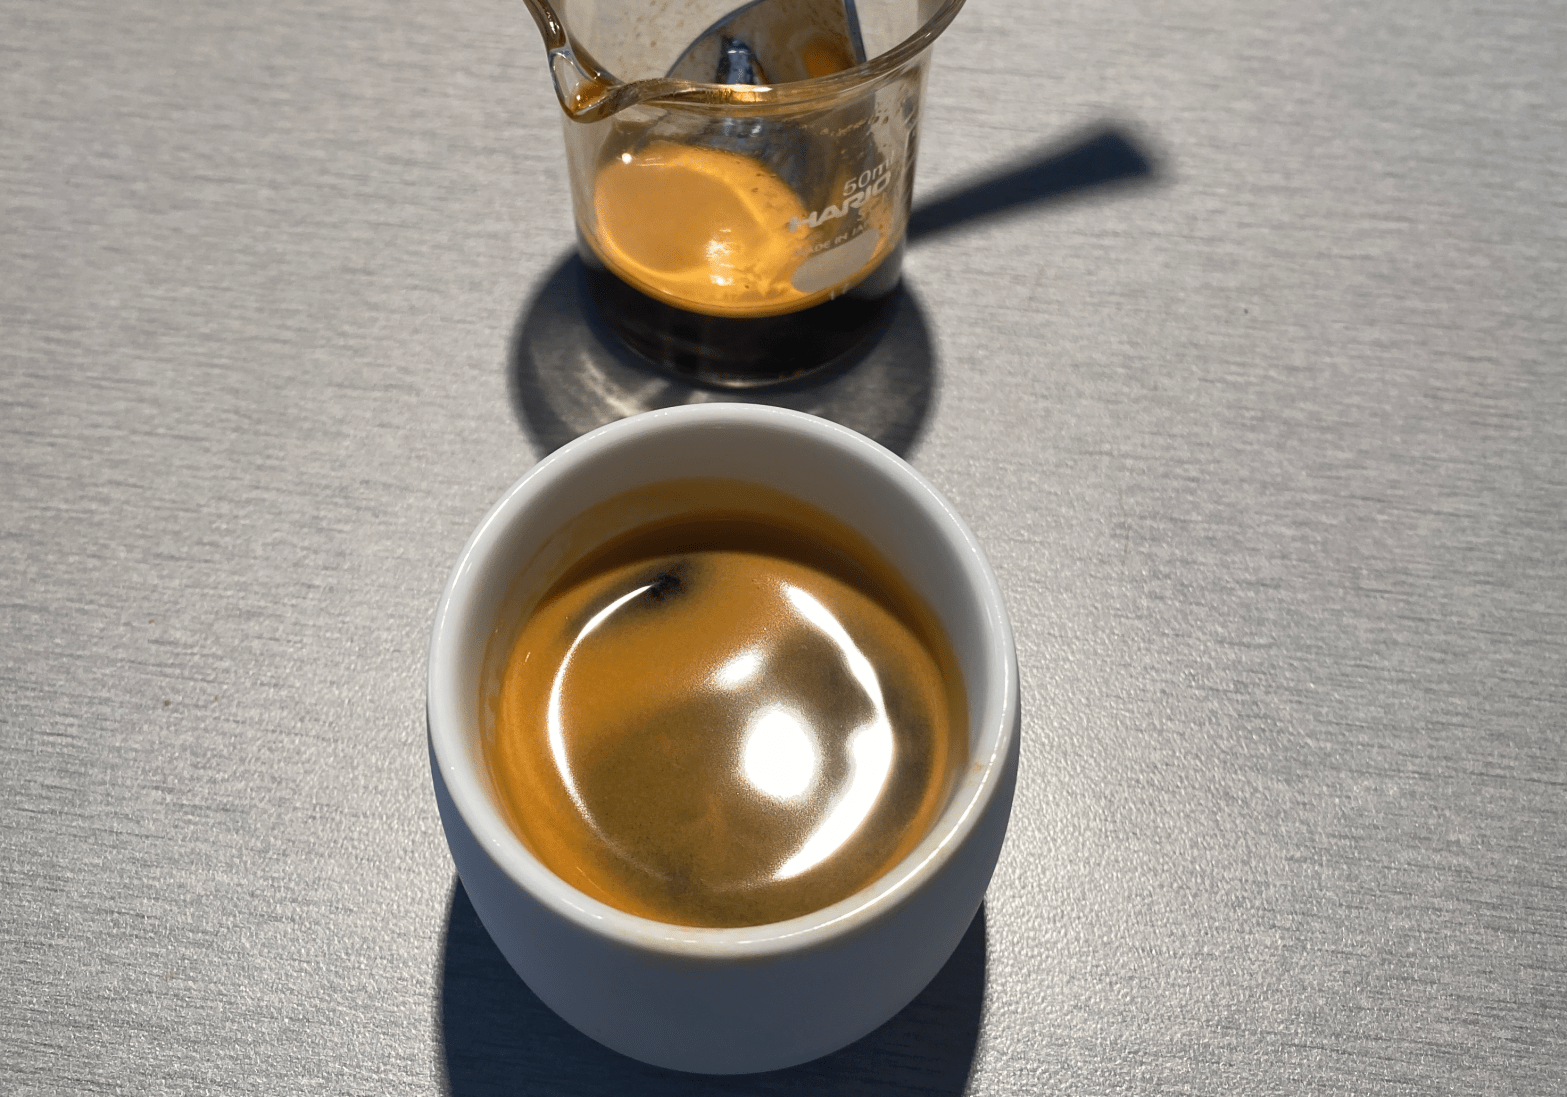
Note that I don’t need to tap because I usually dose 20 grams in the Decent 24 grams basket. These steps above are exactly what I tried today, and I was really impressed with the results. Not only my average extraction yield went up by a whopping 1%, this shot had by *far* the least dark spots I have ever seen:

While it is still not 100% perfect (there are two subtle dark spots at the upper left and one at the lower left), the difference is quite dramatic, even with the same coffee and profile. Now, I know these are only two data points, but I want to share them with you because the difference is so large it is most likely significant:
Shot 1 (ground directly in portafilter)
- Dose: 20.3 g
- Shot weight: 47.7 g
- TDS Concentration (unfiltered): 10.62%
- Average extraction Yield (unfiltered): 25.0%
Shot 2 (ground in Weber Shaker)
- Dose: 20.1 g
- Shot weight: 47.7 g
- TDS Concentration (unfiltered): 10.94%
- Average extraction Yield (unfiltered): 26.0%
I used the same grind size (6.5 at 1500 rpm; my burrs start touching at 8.0 and fully lock at 4.0, so I am at about 125 microns from full burr lock) with 55 mm Whatman 5 filters below the puck and a Flair 58 puck screen above the puck in both cases. I pulled both of these shots with Jungle’s very nice Qabballe natural Ethiopian, and I used a slight variation of Stéphane Ribes’ Easy Blooming shot (for DE1 aficionados, I have made the exit trigger of the blooming part happen at a very low 0.3 bar pressure to obtain a longer bloom, and I chose a “flow range of action limiter” of 2.5 mL/s; here is the profile configuration file). I have come to really enjoy this profile, because it provides both mouthfeel and origin character with a good quality of extraction. What more can I ask for ?
Here is a comparison of the two shots using Miha Rekar’s awesome Decent Shots Visualizer. Here is also a screen grab of just the improved shot:

TL;DR
- I recently realized that I had dark spots under my spent espresso pucks that indicate under-extraction regions and therefore uneven flow, and I was struggling to fix them.
- Adding a paper filter with more resistance under my espresso puck seems to have helped reducing them, as expected from my recent realization that it should reduce the impact of channels.
- Adding a Flair 58 puck screen above my espresso puck also seems to help in most scenarios.
- The last trick that finally got me to almost zero dark spots was to WDT directly in the Weber Shaker, drop the coffee in the portafilter, then do all the usual (deep WDT, etc.) instead of grinding directly in my portafilter with the EG-1 and SSP ULF burrs.
- This last part (grinding in the Shaker) seems to have increased my average extraction yield by about 1% (n=2 data points).
Note added on Jul 16, 2022. After playing more with the Key and Niche grinders, I can say with confidence that dark spots under the puck are much more common, and harder to avoid, with the EG-1 and SSP Ultra low fines burrs. I strongly suspect that this is due to the lack of fines generated by the grinder, which in turn requires a much finer grind for espresso. I suspect that EG-1 with the stock burrs does not generate dark spots either, but I have yet to test it.
Please note that I have no financial ties to any of the companies mentioned above. I am talking about their products because I personally use them and I like them; I am not paid to talk about them and none of the companies above are aware that I will be talking about them. I have receive free items from Weber Workshops (a burr set and glass cellars) but I have paid every other product I own and I have not received these items as part of any agreement. I do not accept any advertisement agreements from any companies because I want to minimize possible biases. Also note that I have decided to stop using Amazon Affiliates links for now because it came to my attention that some readers perceived that it could bias my recommendations (however I did not go into old posts to remove them). I never posted Amazon links just with the intention of adding an affiliate link, however I can understand that this can present the appearance of a bias that I prefer to eliminate.

I also have been doing something very similar to this lately, based on your past posts.
I am using an Olympia Cremina lever machine and the Key Grinder. On the bottom I am using a Whatman 41 grade at 47mm dia. 46mm would be the best fit but it’s not available. On top I am using a Whatman 41 grade at 50mm dia. I have not yet tried a screen on top instead of the filter paper.
I do circular WDT in the magic tumbler before discharging into the portafilter where I perform the typical deep WDT.
I have not tried Whatman 5, but I am not sure it’s available in the diameter I need for the Cremina.
LikeLike